

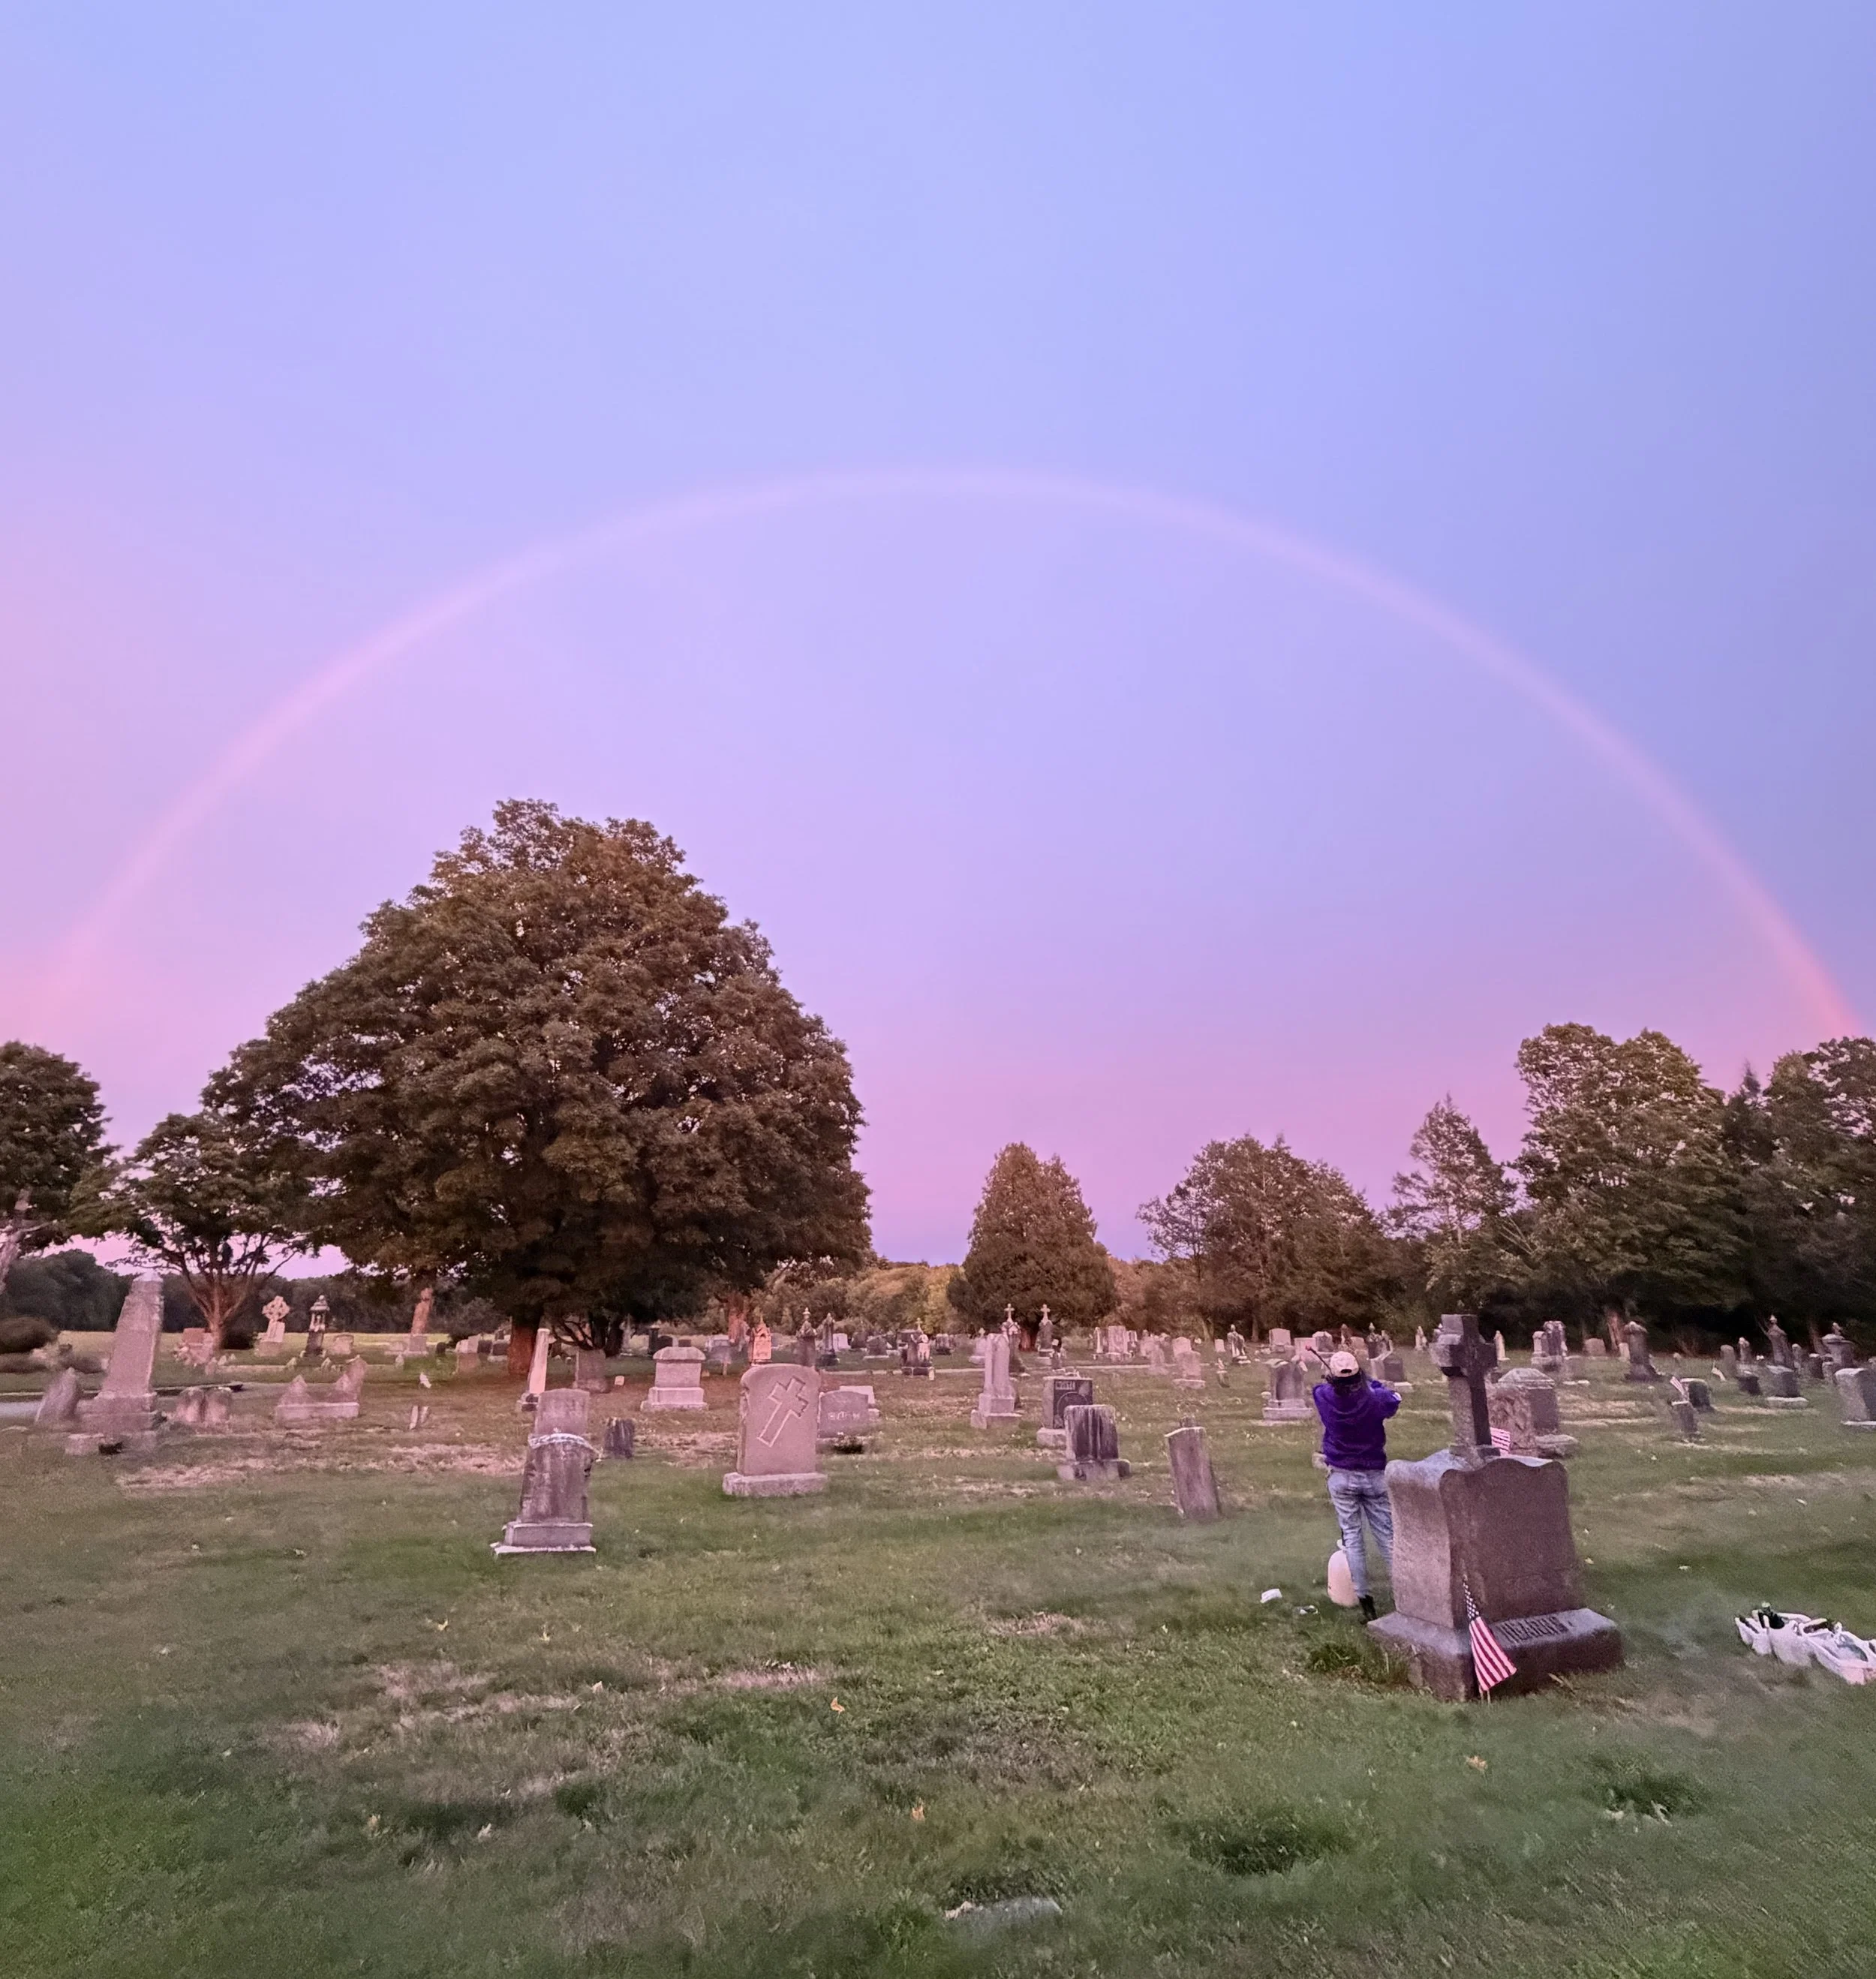
Early spring and late autumn are fantastic times for headstone cleaning: There are fewer planting jobs and the weather is beautiful. A few weeks ago, we were cleaning at sunset and saw a spectacular sky, complete with a full rainbow! It was so beautiful I had to text a few pictures to my client.
Speaking of cleaning, I ran a few numbers today: More than half my clients over the years originally called me for a headstone cleaning. That’s a lot of brushing, picking, and rinsing! So today I thought I’d review a few cleaning basics:
Dry brush the stone…sometimes. If the stone has the flat, round Lecanora-type lichen, dry brushing or scraping won’t do any good—that type of lichen needs to be wet (and sprayed with biological solution) to make any progress. If there are a lot of grass clippings on the base and “fluffy” foliose-type lichen on the stone, I brush or scrape the stone with a wooden paint stirrer so when I do spray biological solution, it doesn’t have to go through the lichen/clippings to reach the surface! (For the lowdown on lichen, here’s the article I wrote back in July: A Summer of Lichen)
The headstone always looks worse after you wet it! I usually take my Before pictures as soon as I arrive, but when the headstone is wet? That’s when you can see how bad the lichen/mold situation really is! Don’t be concerned about stone blushing, either: Sometimes after you spray your solution, the lichen turns gold or rust-colored. You didn’t do anything wrong; this is a natural chemical reaction and will go away as you clean.
Your brush should never contain wire bristles. No matter how gentle you plan to be, wire can scratch the stone, especially soft or porous material like marble. I like nylon the best, but I’ve seen some good ones made of horsehair or other fibers.
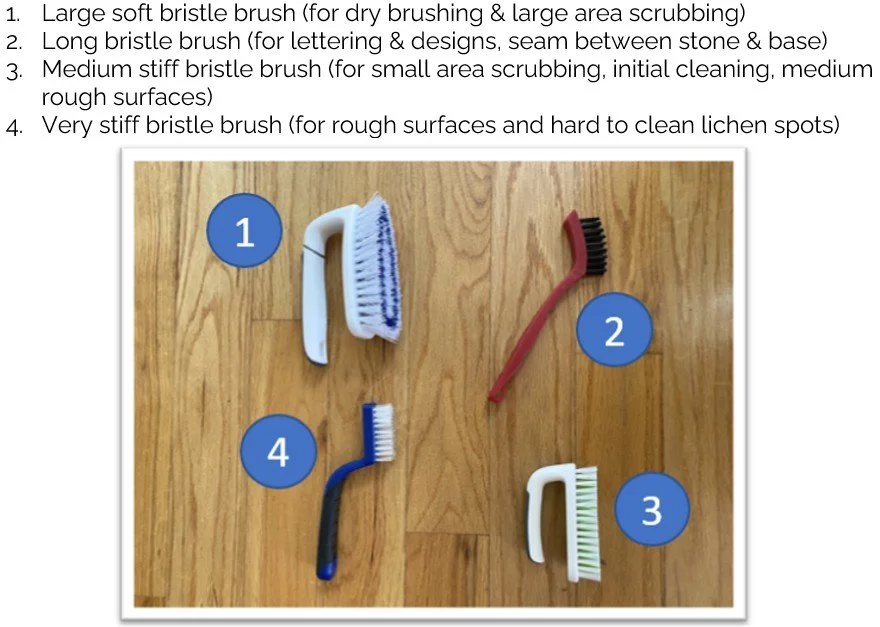
Use the right brush for the surface. A big, soft cleaning brush may be good for a lightly textured surface, while a very stiff brush works great on a rough & craggy base. I use a long-tined, thin brush for joints (e.g. between the base and the headstone) and deep-set letters and decorations.
Remember the stepladder. Okay, this isn’t always necessary, especially if you’re tall, but every once in a while a headstone is bigger than I am. A short, step-stool ladder can give you just the right height to reach the top of that cross!
Keep a stock of wooden picks in your supply bucket. When you’re on visit number three, you’re spending a lot of time picking the remaining lichen from the stone, checking the letters and decorations, and making sure you didn’t miss anything! Just like a pencil, the tip of these wooden picks wear down fast, and a blunt edge doesn’t always reach into those areas you’re cleaning.
Bring extra water. You know those videos of someone cleaning a stone by getting it completely and uniformly scrubbed before rinsing it all down for the big reveal? Those are a lot of fun to watch, but in reality, you’ll work on smaller sections and rinse more often so you can actually see what you’re doing!
It’s okay to spray the stone multiple times. Again with the social videos—it looks like they spray with biological solution once, scrape or scrub it down, rinse once, and they’re done! Very dramatic. Cameras off, we wet the stone with water (lightly), spray it with solution, wait a bit, and then start cleaning. As we’re cleaning, we use more water than solution, but sometimes we see a section that needs extra attention (read: lichen that just won’t come off) and give it another shot of solution. And always, before we leave for the day, we rinse the entire stone with water and then follow that up with a final round of biological solution.
There is much more I could say about headstone cleaning, but I’ll leave that for another time. :-)